 Divisi
White grubs
· Insect
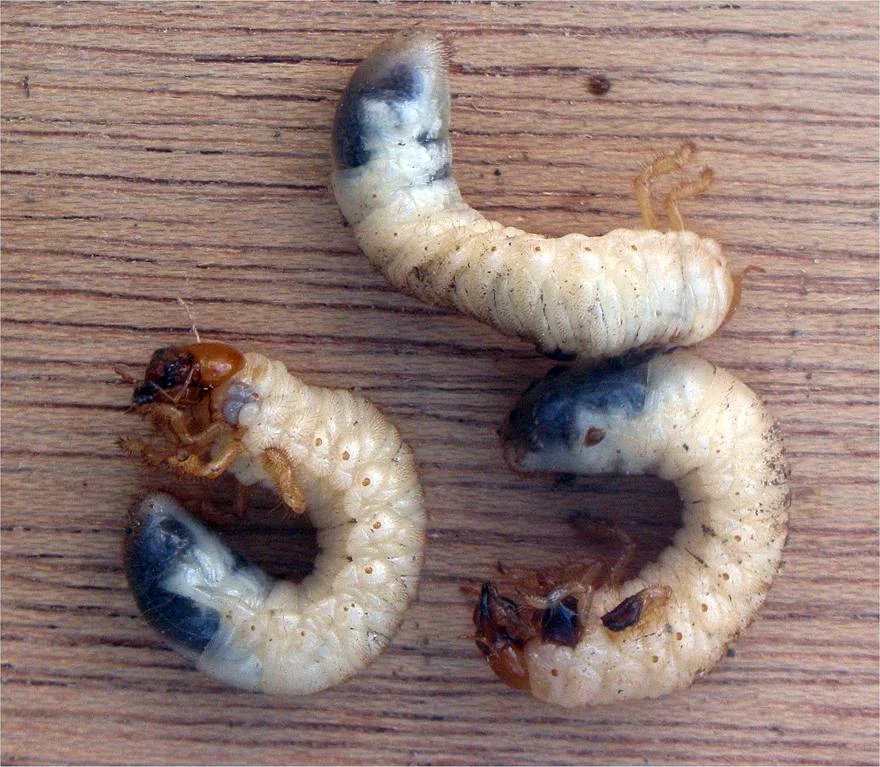
Photo: Rasbak · CC BY-SA 3.0
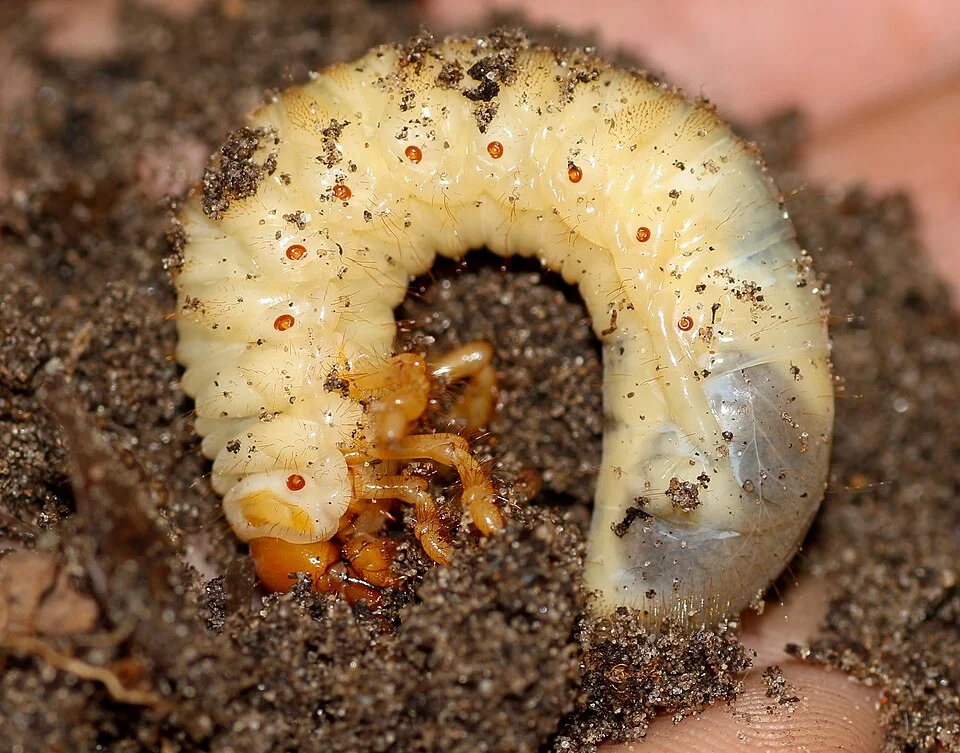
White grubs are the fat, soil-dwelling larvae (the young, worm-like stage) of scarab and chafer beetles. Curled like a white "C" with a hard brown head and three pairs of legs near the front, they live hidden in the soil and feed on roots, tubers and the underground stem — cutting your plants off from the water and food in the ground. The adult beetles fly out with the first rains, often to lights at night, and lay their eggs in moist, loose soil, so the grubs are worst in damp, organic-rich fields and where the same host crop (maize, groundnut, sorghum, potato or sugarcane) is grown year after year.
Cindy kuiphuis · CC BY-SA 4.0 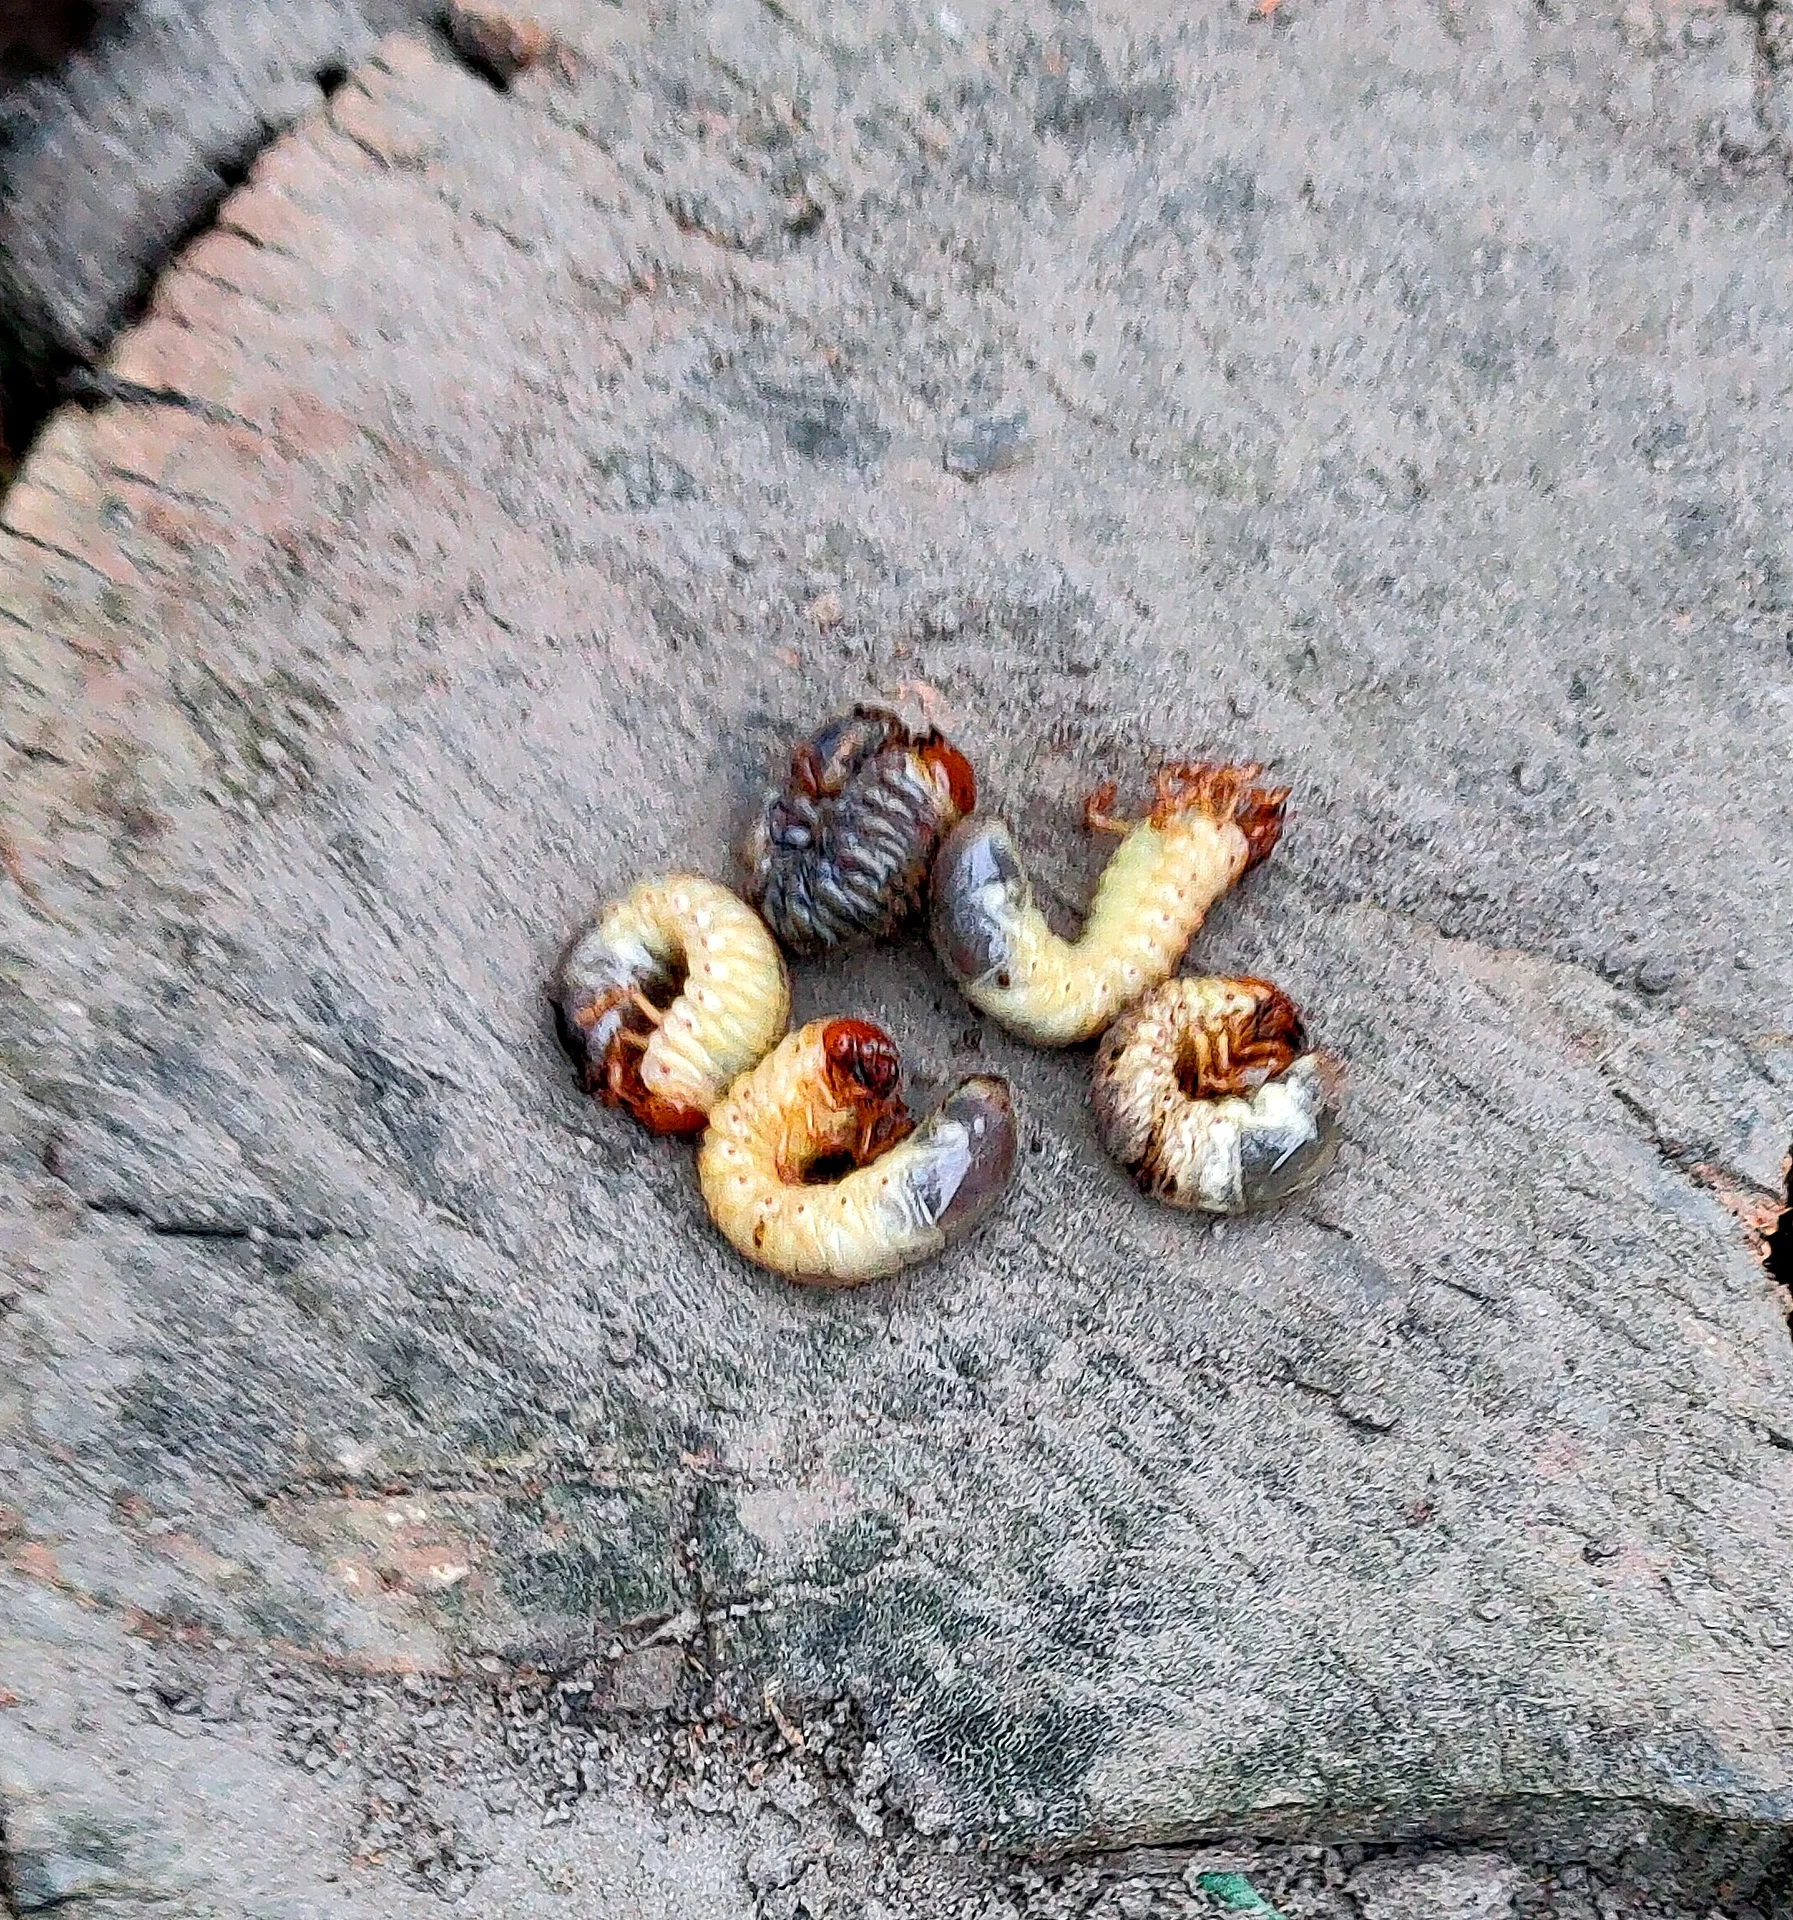
Сарапулов · CC BY 4.0
Why it matters
White grubs do their worst damage out of sight, underground, chewing through the roots and tubers that feed your plants. By the time you see seedlings wilting and dying in patches, the roots are already gone and those plants will not recover — a bad attack can cost you up to 40% of your crop, close to half. They are hard to beat once they are in the soil, because sprays on the leaves never reach them: the real fight has to happen at planting and in the soil, before the grubs grow big.
When to act
Patches of wilting or dead seedlings with grubs found on digging, or a history of grub damage in the plot.
This guidance is general, compiled from published agronomic references including FAO and CABI. Thresholds and timing shift with your crop, your variety and the season.
In much of the region a spray is simply called mushonga — medicine. But a chemical group you cannot name is one you cannot rotate, and a product you did not write down has no pre-harvest interval you can observe. Mushonga, and other farming words →
The full White grubs field guide
Identify it
The first sign, above ground
healthy-looking plants suddenly wilt, yellow and die in scattered patches — not the whole field at once — and the patches often spread outward over a few days. Dead and dying plants pull out of the ground easily, because their roots have been chewed away.
Below ground
dig around a wilting plant and you'll find the roots gnawed short and scarred, and in potato and groundnut the tubers and pods gouged with holes and shallow tunnels. The plant has almost no root left to hold it up or feed it.
The grub itself
in the soil around the roots you'll find a fat, soft grub curled into a "C", white or cream-coloured with a hard brown or orange head and three pairs of little legs near the front. A full-grown one is about as long as the top joint of your thumb (2–4 cm) and curls up when you lift it out.
Don't confuse it
with the cutworm (a grey-brown caterpillar that cuts young stems off at the soil surface at night and coils into a tight ring — not a fat white C with a brown head), with termites (you'll find their soil tunnels and the insects themselves, not a single fat grub), or with the thin, hard, shiny wireworm. If it is soft, fat, white and C-shaped with a brown head in the root zone, it is a white grub.
Scout for it
When to look
check twice — first when preparing the land before planting, and again from emergence right through the young growing stage (the seedling and early-development weeks, when your crop is most at risk). Look hardest after the first rains (when the beetles have just laid their eggs) and wherever you spot a wilting patch.
Before planting
dig a few test holes about a spade deep (20–30 cm) and a big stride wide (roughly one square metre of soil each), spread out in a "W" across the field. Crumble the soil through your hands and count the C-shaped grubs you find.
In the growing crop
walk the same "W" so you cover all four corners and the middle — about 10 stops. At each wilting or yellow plant, dig 20–30 cm around the roots and check for grubs, and gently tug a few seedlings: any that lift out with chewed, rootless bases confirm grubs are feeding.
When to act — the number:
treat now if you find about 1–2 grubs in a square-metre of dug soil, OR a grub under most of the wilting plants you dig up, OR the plot has a known history of grub damage. Even one grub under most seedlings in a spreading patch means act — waiting only lets more plants die.
Control it
Prevent first
-
turn the soil and let the birds feed:
plough or dig deeply before planting to throw the grubs up to the hot sun and to the chickens, birds and ants that eat them, and hand-pick and crush every grub you turn up during land prep. This is your cheapest and safest weapon.
-
starve them and don't invite the beetles:
rotate your plot (plant a crop the grubs don't eat — something other than maize, groundnut, sorghum, potato or sugarcane — for a season) so the grubs go hungry. Avoid spreading heavy fresh manure just before planting, because it draws egg-laying beetles; use well-rotted compost instead, and don't leave bright lights burning by the field when the beetles fly after the first rains.
Act early with a living control — nematodes:
where the soil is moist, apply entomopathogenic nematodes (tiny insect-killing roundworms — harmless to you, your crop and bees — that hunt the grubs down in the soil). Water them into moist soil in the cool of the day; they die in hot, dry, sunlit soil, so never put them out at midday or into dust.
Chemical only as a last resort — treated seed at planting:
where grub pressure is known to be high or scouting hit the threshold, use an insecticide seed treatment (or a soil insecticide placed in the planting furrow). Because grubs live underground, the poison must be on the seed or in the soil at planting — leaf sprays never reach them. Safety: treated seed is poison — never eat it or feed it to people or animals, keep it away from food, water and children, wear gloves and cover your skin, nose and mouth when handling and planting, wash well afterwards, and follow every instruction on the label. Don't lean on the same chemical every season: rotating to a different chemical group and pairing it with the ploughing and crop rotation above stops the grubs becoming resistant (surviving a poison that is used on them too often).
If it keeps spreading — or it's already too late:
once seedlings have died in a patch, those plants will not recover — the roots are gone. If the season is still young, replant (gap-fill) the dead patches early and water and feed the survivors so they can outgrow light damage. Where a patch is a total loss, cut your losses there and protect the rest — then win the real fight next season: deep-plough, rotate to a non-host, and treat your seed at planting before the grubs ever build up.
Catch White grubs before it costs you the harvest
This guide is the general answer. Divisi works out yours — the week to scout your own field for White grubs, and what to do the day you find it.


Crops it affects
Plan the crops it attacks
-
 When to plant Groundnut in Songo
 -
 When to plant Maize in Mougalaba
 -
 When to plant Sorghum in Maracha
 -
 When to plant Sugarcane in Douigni
All planting calendars, country by country
Get Insights by email
A short digest of new Divisi articles. No email on quiet weeks.
Frequently asked questions
How do I identify White grubs?
The first sign, above ground. healthy-looking plants suddenly wilt, yellow and die in scattered patches — not the whole field at once — and the patches often spread outward over a few days. Dead and dying plants pull out of the ground easily, because their roots have been chewed away.
When should I take action against White grubs?
Patches of wilting or dead seedlings with grubs found on digging, or a history of grub damage in the plot.
How do I control White grubs?
Prevent first — turn the soil and let the birds feed:. plough or dig deeply before planting to throw the grubs up to the hot sun and to the chickens, birds and ants that eat them, and hand-pick and crush every grub you turn up during land prep. This is your cheapest and safest weapon.
Which crops are attacked by White grubs?
Among the crops covered here: Groundnut, Maize, Sorghum, Sugarcane.