 Divisi
How to grow onion
Allium cepa · Amaryllidaceae
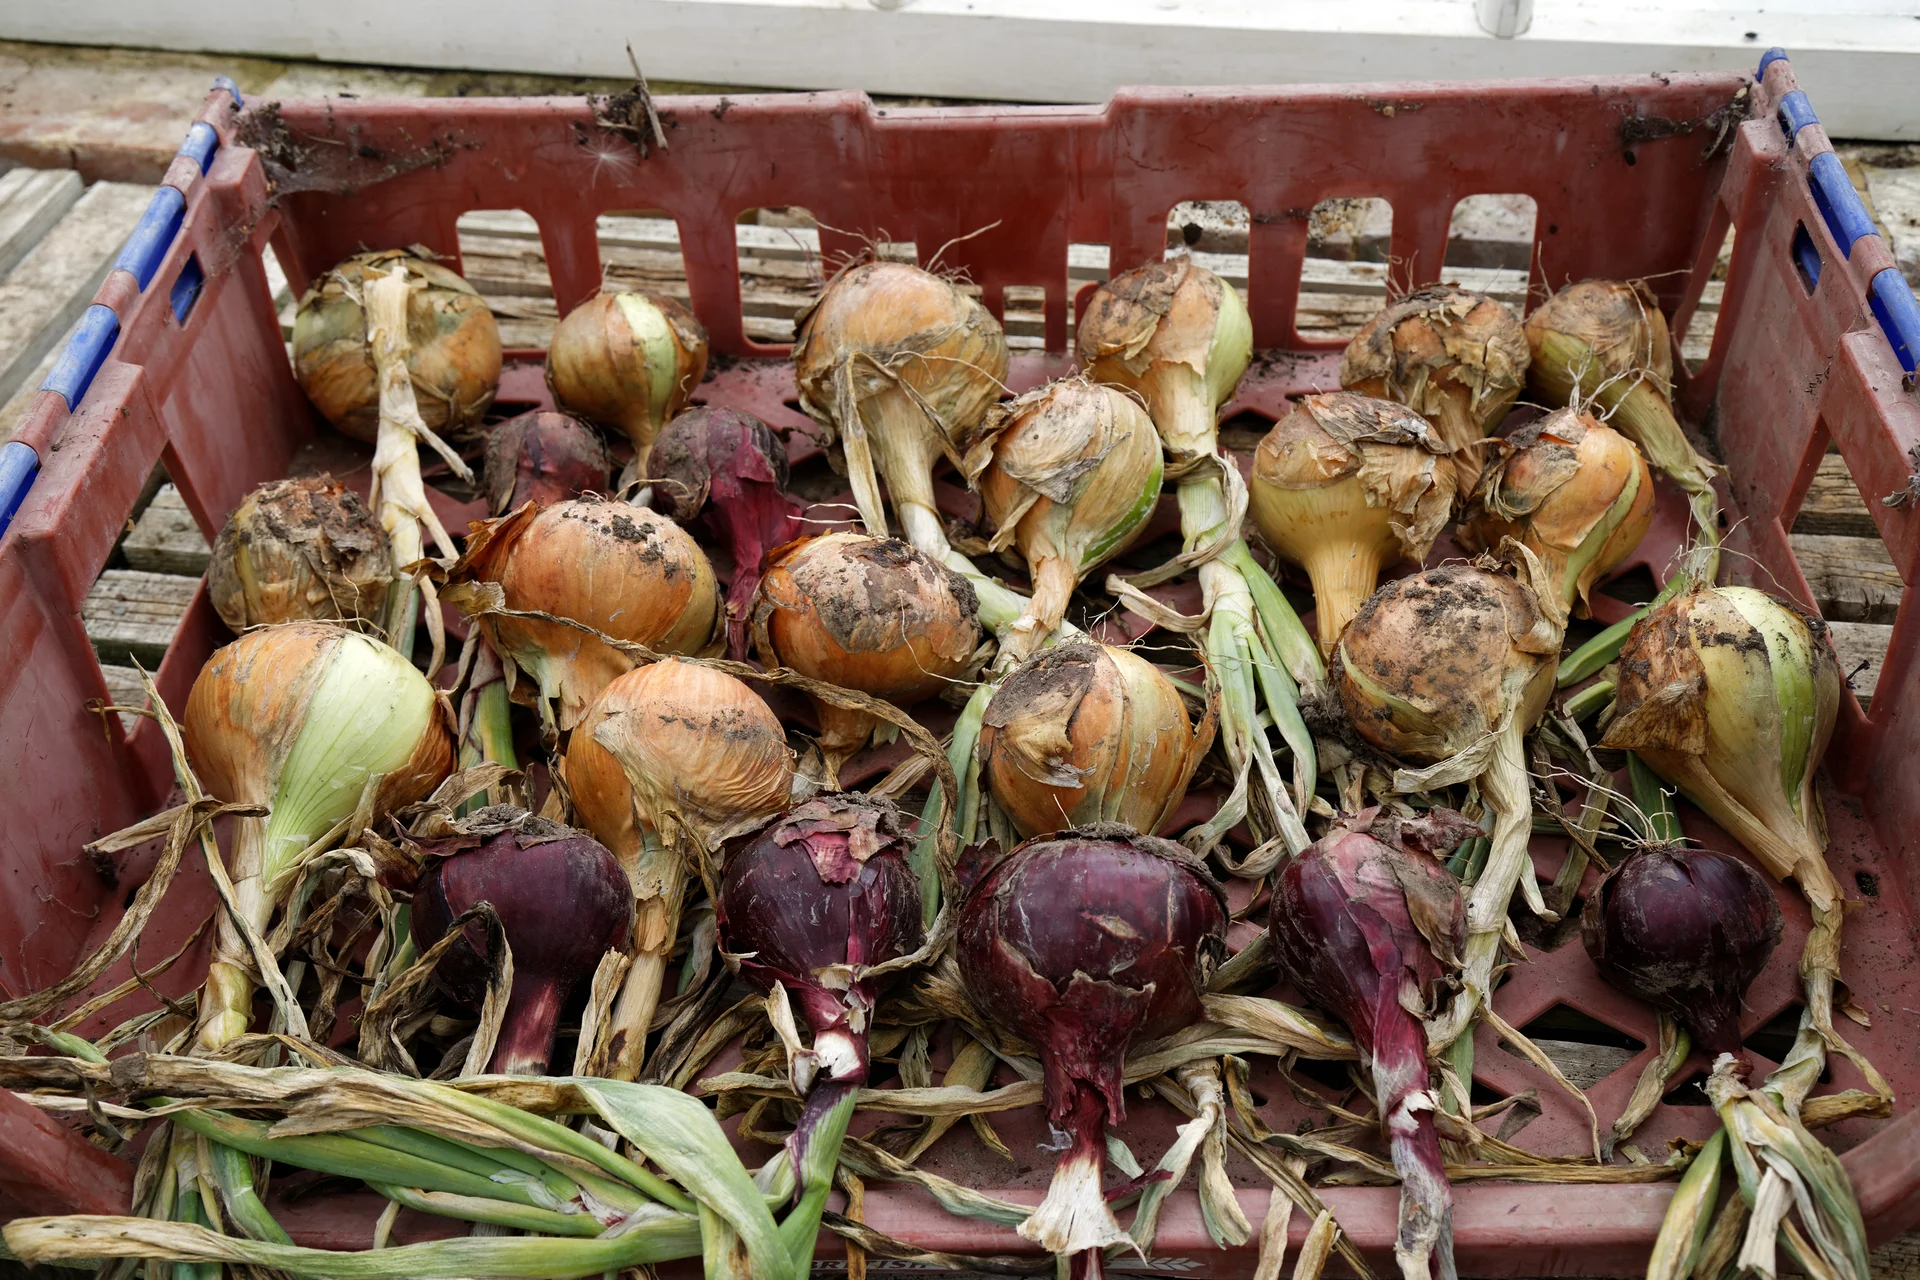
Onion is a cool-season vegetable you grow for its bulb — the swollen base of the leaves — but across sub-Saharan Africa it is most often grown as an irrigated hot dry-season crop, and it stands real heat (up to about 42 °C) as long as the water never stops. You raise it first in a small nursery bed, then move the young plants out to the field. The one thing that decides everything is daylength: an onion only starts to make a bulb once the days are long enough for its type, so near the equator, where days stay short, you must plant a short-day variety — plant the wrong type and the plant grows fine green leaves and never forms a bulb. Onion has shallow roots that dry out fast, it is a weak fighter against weeds, and its worst enemy is the tiny thrips insect. Grown well and cured properly, it stores for months and is one of the best cash crops a small farm can sell.
Acabashi · CC BY-SA 4.0 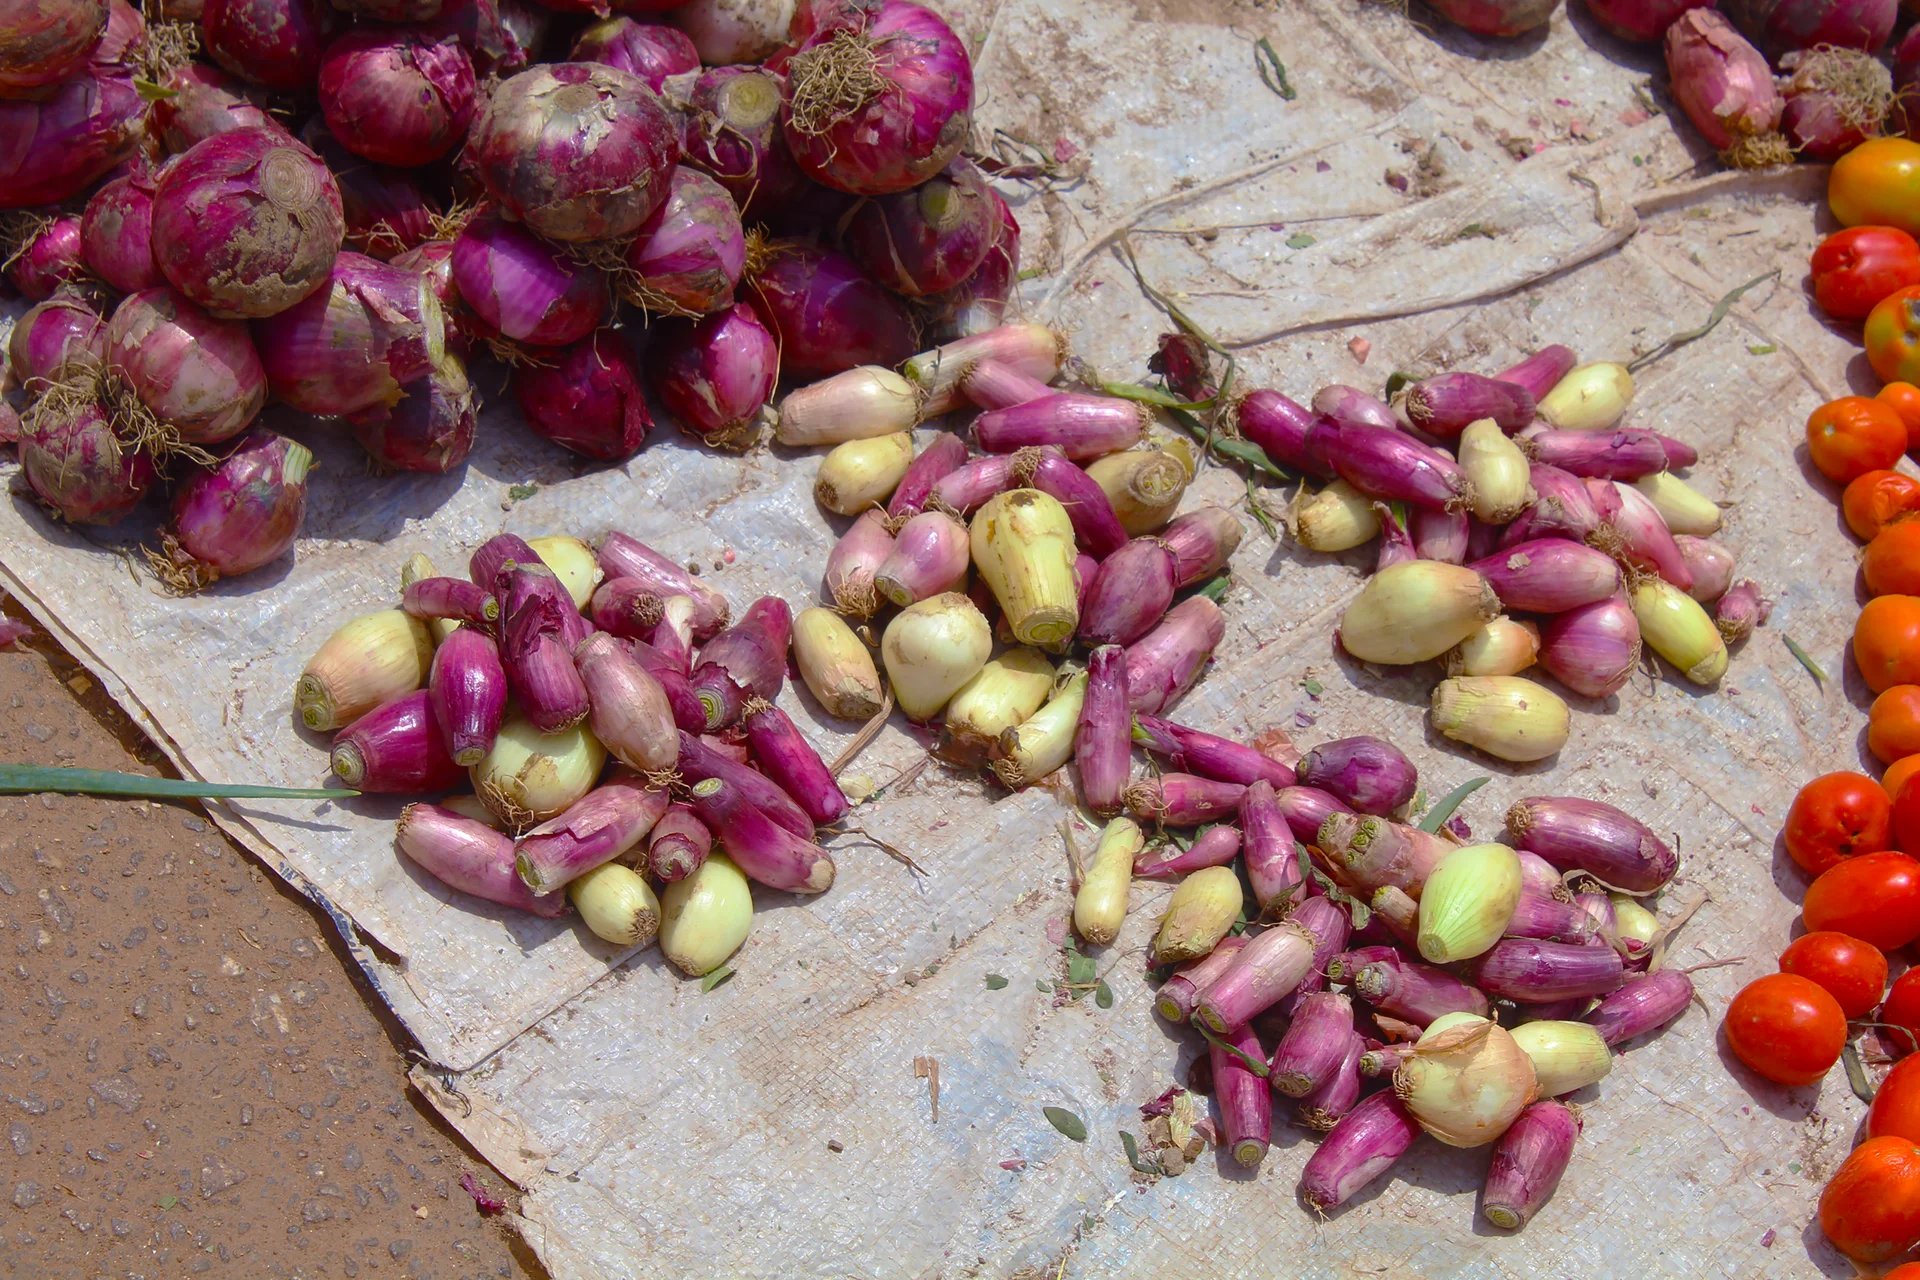
Kambai Akau · CC BY-SA 4.0
- Days to maturity
- 90–120 days
- Row spacing
- 20 cm
- Plant spacing in the row
- 7 cm
- Sowing depth
- 1–1.5 cm
These are general figures for the crop, compiled from published agronomic references including FAO and CABI. The right choice for your field depends on your soil, rainfall and the yield you are aiming for.
Will onion actually do well on your field? Check your own field against every crop in the catalogue — no signup. Run the crop check →
Also known as
- Afrikaans
- ui
- Amharic
- shinkurt
- Chichewa
- anyezi
- French
- oignon
- Hausa
- albasa
- Portuguese
- cebola
- Sesotho
- anyanese
- Setswana
- anyanse
- Shona
- hanyanisi
- Swahili
- kitunguu
- Xhosa
- itswele
- Zulu
- u-anyanisi
Working in buckets, bags or paces? The farming glossary turns the measures growers actually use into kilograms and hectares — what a 20 litre bucket of each crop really weighs, and how to size a field by walking it — alongside the Shona, Swahili, Ndebele and Yoruba words used in the field. Open the glossary →
Growing onion, stage by stage
Your onion season from nursery bed to store — raise strong seedlings, match the variety to your daylength, keep the shallow roots steadily watered, beat the thrips, and cure the bulbs so they keep for months.
Raise strong seedlings in a nursery bed
Your whole season is decided here, in a small seedbed weeks before the field is ready. Two choices matter most: the right daylength variety (a short-day type for the short days near the equator — the wrong one grows leaves but never bulbs), and strong, even seedlings. Sow thinly on a fine, well-drained bed about 6–8 weeks before transplanting, keep it moist, lightly shaded and weeded, and aim for seedlings that are pencil-thick at the base and about 12–15 cm tall. While they grow, get the field limed, fed and ready.
Confirm the daylength-matched variety Critical
This one choice decides whether you get onions at all. An onion only makes a bulb when the days are long enough for its type. Near the equator the days stay short all year, so you need a short-day variety. Plant a long-day type by mistake and the plant grows healthy leaves for months and never forms a bulb — a whole season lost, and you won't know until it is far too late to fix.
Know your daylength. Near the equator (low latitude) the days stay close to 12 hours all year — you need a short-day variety. Further from the equator, where summer days are long, an intermediate or long-day type may fit.
Buy a named short-day (tropical) variety from a trusted dealer — a labelled packet with the variety name on it, not loose seed scooped from a tin.
Check the seed is fresh — this season's packing date. Onion seed dies quickly; seed more than about a year old comes up thin, patchy and weak.
If you are unsure which type suits your area, plant the variety your successful neighbours grow, or ask the dealer or extension officer for a short-day type by name.
- Do:
Match the variety to your daylength — a short-day type for the short days near the equator. This is a pass/fail choice for bulbing.
- Tip:
Planting leftover, old or unlabelled seed — onion seed loses the power to grow within about a year, and a wrong-daylength type never bulbs.
- Watch out:
A crop that grows lush leaves but shows no swelling at the base by mid-season is the sign of a wrong-daylength variety — and there is no cure this season.
Sow the nursery Critical
The seedlings you raise now are the exact plants you will harvest — you cannot buy better ones later. A fine, well-drained bed and thin sowing give sturdy, pencil-thick seedlings that survive the move and go on to bulb. A crowded, soggy bed gives weak, leggy seedlings and damping-off (a rot that topples seedlings at the soil line), and the crop never fully recovers.
About 6–8 weeks before you want to transplant, make a seedbed in full sun on well-drained ground. Raise the bed about 10–15 cm above the surrounding soil so water drains away — wet beds rot seedlings.
Get your seed ready: about 3–5 kg of seed for every hectare of field you plan to plant out — much less for a small garden plot. A little onion seed raises far more seedlings than it looks, so you can sow sparingly.
Break the soil to a fine, crumbly tilth like flour and work in a little well-rotted compost. Onion seed is tiny and needs fine soil pressed around it.
Draw shallow lines across the bed about 10 cm apart (half a hand-span) with a stick.
Sow the seed thinly along the lines — space it out, don't pour it. Crowded seedlings grow thread-thin and catch damping-off.
Cover the seed lightly — about 1–1.5 cm, no deeper than the width of your little finger — firm it gently, and water with a fine sprinkle (a can with a rose, not a splash).
Lay light shade over the bed — a thin layer of dry grass or a shade net — to stop the soil baking. Seedlings show in 4–7 days; lift the shade a little once they are up.
Keep the bed moist but never soggy, and pull weeds by hand while they are small.
In the last week before transplant, harden the seedlings off: give a little less water and more sun so they toughen. Transplant when they are pencil-thick at the base and about 12–15 cm tall.
- Do:
Sow thinly on a raised, well-drained bed — space and drainage are your best guard against weak, damped-off seedlings.
- Tip:
A low, shady, wet corner for the nursery — it holds water, breeds damping-off, and gives soft, leggy seedlings.
- Watch out:
Seedlings that suddenly topple with a thin, water-soaked, pinched stem at the soil line — that is damping-off; ease off the water, open up the shade to dry the bed, and thin crowded patches.
Prepare the field while the nursery grows
While the nursery grows (or while you line up seedlings to buy), get the field ready. Onion's shallow roots only reach food near the surface, so the whole job here is a fine, firm, well-limed bed with the phosphorus and first nitrogen worked in ahead of time — there is no going back to fix a badly prepared bed once the plants are in. If you are not raising your own nursery, source healthy, correctly daylength-matched seedlings now.
Prepare the field + basal (all P, first N) Recommended
Your seedlings will be waiting, so the field must be ready and fed before they leave the nursery. Onion has shallow roots that only reach food near the surface, so the phosphorus and the first nitrogen must be worked into the bed now, where the young roots can find them. A fine, firm, well-drained, well-limed bed lets seedlings root fast and grow evenly.
About 1–2 weeks before transplanting, pick a well-drained, fertile field in full sun — never a low spot that holds water, which rots the shallow roots.
If your soil is sour (acid), below pH 6, lime it well ahead of time (lime works slowly) so the bed sits around pH 6–7, where onion feeds best.
Dig and break the soil to a fine, firm, level tilth and work in well-rotted manure or compost. Onion's small roots need fine, settled soil, not big clods.
Work in all the phosphorus (P), the first part of the nitrogen (N) and the potassium (K) — your recommendation gives the amounts — and mix them into the topsoil where the shallow roots will reach. (The sulphur (S) goes on later, with the main nitrogen top-dress — not now.)
Make beds or ridges you can water and weed easily, and firm the surface so seedlings sit snugly.
- Do:
Put all the phosphorus in as you prepare the bed (the basal dressing) and mix it in — it barely moves in the soil, so it must be down where the shallow roots start.
- Tip:
A field that puddles after rain — onion roots rot in wet soil; choose the best-drained ground you have.
- Watch out:
Handle fertiliser with care — keep it off your skin and eyes, away from food, water and children, and wash your hands after.
Source healthy seedlings or sets Critical
If you are not raising your own nursery, the seedlings (or sets — small dry bulblets) you buy are your crop. A thin, leggy or diseased transplant never catches up, and a batch already carrying thrips or damping-off can seed the whole field with it. Buy from a trusted grower in the week before you transplant, and settle the daylength question before you commit a whole field to the wrong variety.
Buy pencil-thick seedlings, about 12–15 cm tall, with firm, upright leaves — not thin, thread-like or floppy ones.
Confirm with the seller that it is a named short-day variety suited to your daylength — the wrong type grows healthy leaves all season and never forms a bulb, and you won't know until it's far too late.
Check the batch for silvery streaks or white flecks on the leaves (thrips damage) and reject any plants that look wilted, spotted or diseased.
Transplant within a day or two of buying — keep the seedlings shaded and moist until you get them into the field.
- Do:
Buy pencil-thick, deep-green seedlings of a confirmed short-day variety — they root fast and reliably bulb.
- Tip:
Cheap, unlabelled or thin seedlings — you may be buying a wrong-daylength variety that never bulbs, or a batch already carrying thrips.
- Watch out:
Leaves already showing silvery streaks or white flecks at purchase — that batch is carrying thrips into your field from day one.
Transplant and settle the young plants in
Now you lift the seedlings from the nursery and set them in the field, where they must grow new roots. Until they root, their shallow roots dry out fast, making this the thirstiest, most delicate moment of the whole crop. Set them shallow, a hand-span between rows and a few fingers apart, water them in at once, and keep the soil moist. Don't move oversized seedlings into a cold spell — that makes them bolt (run to flower) instead of bulb.
Transplant + water in Critical
How you set each seedling decides your stand and the shape of every bulb. Planted shallow at the right spacing, firmed, and watered in at once, they root fast and swell into round, even bulbs. Planted deep, or left dry, they sulk, misshape, and some die — and every gap in the row is a bulb you never harvest.
Transplant in the cool of late afternoon or on a dull day, so the seedlings don't wilt in the midday sun.
Water the nursery bed first, then lift the seedlings gently with as much root as you can. Keep them in the shade and plant them the same day.
You may trim the very tips of the long leaves and any over-long roots with a clean knife — this cuts water loss and helps them stand up. Keep only pencil-thick seedlings; leave the thread-thin ones behind.
Set each seedling shallow — just deep enough to stand up, about 2–3 cm (no deeper than one finger-joint). Do not bury the growing point (the pale spot where the leaves fan out) — plant deep and the bulb comes out small and misshapen.
Space them about 20 cm between rows (a hand-span) and 5–10 cm apart in the row (a few fingers) — close spacing gives many medium bulbs; wider spacing gives fewer, larger ones.
Firm the soil around the roots with your fingers so no air pocket is left, then water in straight away.
Keep the soil moist every day for the first week or two while they take hold — you will see the centre leaf stand up and green up once they have rooted.
- Do:
Plant shallow and firm — onion bulbs sit at the surface, so a shallow set with no air pocket gives round, well-shaped bulbs.
- Tip:
Transplanting large, thick seedlings into a cold spell (below about 14–16 °C) — the cold tricks them into flowering (bolting) instead of bulbing. Use right-sized seedlings and warm soil.
- Watch out:
Seedlings still limp and grey two or three days after transplanting — they have not rooted yet; check the soil is staying moist and shade them in fierce heat.
Water little and often Critical
A just-transplanted seedling has almost no roots, and the roots it grows stay shallow — only a hand deep. If the top few centimetres dry out even once in these first weeks, seedlings wilt and die, and every gap is a bulb lost. Little and often keeps them alive until they take hold.
Water lightly every 2–3 days for the first two weeks — little and often, not one big flood.
Keep the top few centimetres moist; push a finger in and water before it dries out.
Water in the cool of morning or evening, not the hot midday, so less is lost and the plants don't scorch.
Don't waterlog — onion roots rot in standing water. If water pools, drain it; the soil should be damp, not swampy.
- Do:
Water little and often while the roots are shallow — steady moisture now decides how many seedlings survive.
- Tip:
Letting the bed dry hard between big floods — the wet-dry swing kills young onion roots faster than steady damp does.
- Watch out:
On sandy soil or in hot weather the bed dries faster — check daily and water more often; shallow onion roots have no reserve to fall back on.
Scout (thrips, damping-off) Recommended
In these first weeks, weak or over-wet seedlings collapse from damping-off, and the first thrips move in. Both are easy to stop while small and almost impossible once they take hold. A few minutes checking, twice a week, protects the stand you just planted.
Twice a week, walk the rows and look closely at 25–50 plants across the whole field, not just the edge by the path.
Thrips: part the leaves and look in the crease where leaf meets leaf (the axil) — thrips are tiny, pale-yellow to brown slivers that scurry when disturbed, leaving silvery streaks and white flecks on the leaves. Start control at about 1 thrips per leaf (sooner in hot, dry weather).
Damping-off: look for seedlings that wilt and topple with a pinched, watery stem at the soil line, often in wet patches. Pull out the collapsed ones, ease off the water, and improve drainage so the surface can dry.
Note any gaps where seedlings died, so you can gap-fill from spare nursery seedlings while they can still catch up.
If thrips reach the threshold → spray a recommended product, rotating chemical groups. If damping-off is spreading → stop over-watering and dry the bed out.
- Do:
Look inside the leaf axils, not just the leaf surface — thrips hide down in the creases where you won't see them at a glance.
- Watch out:
Thrips explode in hot, dry spells — check more often and act faster then.
- Tip:
Blaming every wilting seedling on drought — a watery, pinched stem at the soil line is damping-off, and more water makes it worse.
Build the leaves — every leaf is a bulb ring
Now the plant grows leaf after leaf — and here is the key: every leaf becomes a ring inside the bulb, so the more strong leaves it builds now, the bigger the bulb later. Onion is a poor fighter against weeds — its thin, upright leaves cast no shade — so keep it spotlessly weeded. Feed the main nitrogen (with sulphur), keep it evenly moist, and get on top of thrips, which can strip the very leaves you are trying to grow.
Scout thrips (count per leaf) Critical
Thrips build up fastest now, and every leaf they shred is a bulb ring you lose — this is the pest that most often robs an onion crop. Counting them per leaf tells you exactly when to act, so you spray only when it pays and keep the leaves growing the bulb.
Twice a week, check 25–50 plants spread across the field.
On each, part the leaves and count the thrips in the leaf axils (the creases) — tiny pale-yellow to brown slivers that dart away when disturbed.
Spray at about 1 thrips per leaf; act faster at 2 or more per leaf and in hot, dry weather when they multiply fast.
When you spray, rotate between different chemical groups each time — thrips build resistance quickly, and using the same product over and over stops it working.
Look too for purple, ringed blotches on the leaves (purple blotch) in warm, damp weather, and a purple-grey furry mould in cool, damp spells (downy mildew); treat at the first spots with a recommended fungicide.
If thrips are over threshold → spray now, rotating groups. If leaf disease appears → start a preventive fungicide and avoid wetting the leaves late in the day.
- Do:
Weed the field repeatedly — onion cannot shade out weeds and never catches up if they get ahead. A clean field also leaves thrips fewer places to shelter.
- Watch out:
Spray in the cool of the day with the wind behind you, cover your skin, nose and eyes, keep spray off food, respect the days-to-harvest wait on the label (the least number of days you must leave between spraying and eating or selling the crop), and wash well after.
- Tip:
Using the same insecticide every time — thrips grow resistant fast, and then nothing in that group works when you really need it.
Weed (critical, repeated) Critical
Onion is one of the worst crops at fighting weeds — its few thin, upright leaves never shade the soil, so weeds grow unchecked and steal the water, food and light meant for your crop. Weeds left through this stage cut yield by 10–30%. Repeated, careful weeding is not optional for onion; it is a make-or-break job.
Start weeding early and often — go over the crop every couple of weeks, before the weeds get bigger than the onions.
Hoe shallowly or hand-pull close to the plants — onion roots sit just under the surface, and deep hoeing cuts them.
Pull weeds out by the root where you can; chopping only the tops lets many spring straight back.
Take care not to knock soil over the growing point or bruise the leaves as you work.
Keep the field clean right through leaf growth — a weedy onion crop never catches up.
- Do:
Weed little and often by hand or shallow hoe — it is the cheapest yield you will ever gain on onion.
- Tip:
Deep hoeing near the plants — it slices the shallow roots and checks growth.
- Watch out:
Weeds hiding in the row between the close-set plants — they are easy to miss and compete hardest; part the leaves and pull them out.
Main N top-dress (with sulphur) Recommended
Fast leaf growth eats nitrogen, and this feed — given while the leaves are building — turns straight into bulb size. The sulphur that goes with it gives the onion its sharp taste (its pungency) and the keeping quality that lets bulbs store for months instead of rotting. Feed steadily now, but plan to stop nitrogen once bulbing starts.
Apply the main nitrogen top-dress during leaf growth — roughly 3–4 weeks after transplanting, when the plants are growing fast.
Add the crop's sulphur (S) with this feed (for example a sulphur-bearing fertiliser) — this is the one place sulphur goes on, and it builds flavour and storage life, not just size.
Band it to the side of the rows, a few centimetres from the plants — not on top of them — and water it in so it reaches the shallow roots.
Keep the fertiliser off the wet leaves, where it sticks and scorches; brush any grains off the foliage.
Plan for one more, final nitrogen side-dress as bulbing begins — then stop (next stage). Late nitrogen gives thick necks and soft bulbs that won't store.
- Do:
Give nitrogen with sulphur — sulphur is what makes an onion sharp, and sharp onions store; bland, over-fed ones rot.
- Tip:
Piling all the nitrogen on at once — split it, or heavy rain washes it past the shallow roots and it is wasted.
- Watch out:
Handle fertiliser safely — keep it off wet leaves and off your skin, away from food, water and children, and wash your hands after.
Water to keep evenly moist Recommended
The plant is building the leaves that become your bulb, and its shallow roots cannot reach deep water. Let it dry out now and leaf growth stalls — fewer, smaller leaves means a smaller bulb later. Keep it evenly moist and the leaves keep coming.
Water to keep the soil evenly moist — check with a finger and water when the top few centimetres start to dry.
Aim for roughly every 4–6 days, more often on sandy soil and in heat, less in cool, cloudy spells.
Water steadily — avoid the swing from bone-dry to flooded, which stresses the shallow roots and can split bulbs later.
Don't waterlog; the soil should be damp, not swampy, and low spots should drain.
- Do:
Keep moisture steady — even watering now builds even leaves and, later, even bulbs.
- Tip:
Long dry gaps followed by a heavy soak — the wet-dry swing checks growth and cracks bulbs.
- Watch out:
Sandy fields dry fastest — feel the soil and water sooner there.
Swell the bulbs — the make-or-break stage
Once the days are long enough for your variety, the plant stops making new leaves and pours everything into swelling the bulb — and it swells fast. This is where your yield is made, and water stress now costs you more than at any other time. Keep the soil steadily moist, give the last nitrogen as bulbing begins and then stop, and hold thrips and leaf disease down so the leaves can keep feeding the bulb.
Scout (thrips, purple blotch/mildew) Critical
While the bulb swells, the leaves are pumping food straight into it — so damage now shrinks the bulb directly. Thrips are still your worst enemy, and warm or damp spells bring purple blotch and downy mildew. Keep scouting hard: every leaf you save is bulb weight and better skins for storage.
Keep checking 25–50 plants twice a week, right through bulbing.
Count thrips in the leaf axils — spray at about 1 per leaf, faster at 2 or more and in hot, dry weather, rotating chemical groups each time.
Look for purple, ringed blotches on the leaves (purple blotch) and a purple-grey furry mould in cool, damp, leaf-wet weather (downy mildew); apply a recommended fungicide at the first spots and repeat as advised.
Watch the necks: they should stay slim. Thick, soft necks are an early warning of too much late nitrogen and poor storage to come.
If thrips or disease are over threshold → treat now — rotate insecticide groups, start the fungicide early, spray in the cool with the wind behind you, and respect the days-to-harvest wait.
- Do:
Side-dress the last nitrogen as bulbing begins, then stop — late N gives thick necks and bulbs that won't store.
- Watch out:
Spray safely — cover skin, nose and eyes, spray in the cool of the day with the wind behind you, keep it off any bulbs you'll eat soon, and mind the days-to-harvest wait.
- Tip:
Wetting the leaves late in the day when disease is about — leaves that stay wet overnight invite purple blotch and mildew.
Final N side-dress, then stop Recommended
The crop needs one last push of nitrogen just as bulbing starts — but after that, nitrogen turns from friend to enemy. Late nitrogen grows soft, thick-necked bulbs that won't store and rot in the shed. Feeding now and then stopping is what gives you firm bulbs that keep for months.
Give the final nitrogen side-dress as bulbing just begins — around 6–8 weeks after transplanting, when you first feel the base starting to swell.
Band it to the side and water it in to reach the shallow roots; keep it off the leaves.
Then stop all nitrogen. No more N for the rest of the season — this is the rule that decides whether your bulbs store.
From here, potassium and steady water do the work of filling firm, well-skinned bulbs.
- Do:
Treat 'feed then stop' as a hard line — the last nitrogen goes on as bulbing starts and never after.
- Tip:
A late 'boost' of nitrogen to green up the tops — it grows thick necks and soft bulbs that rot within weeks of storage.
- Watch out:
Handle fertiliser safely — off wet leaves, off your skin, away from food, water and children, and wash your hands after.
Water steadily through bulbing Critical
This is the most important watering of the whole season. The bulb is swelling fast, the roots are shallow with nothing in reserve, and a dry spell now cuts your yield by 15–40% — more than any other stress. Uneven watering also splits and doubles the bulbs. If you can water well at only one stage, make it this one.
Keep the soil steadily, evenly moist all through bulbing — never let it dry out.
Water roughly every 3–5 days, more often in heat and on sandy soil; check with a finger and don't wait for the plants to wilt.
Keep the watering even — a swing from dry to soaked makes bulbs split, crack or grow double.
Water in the cool of the day so less is lost to the sun.
Ease off only near the very end of this stage as maturity approaches (the next stage tells you when to stop).
- Do:
Make bulbing your top water priority — steady moisture here is where the tonnage is won.
- Tip:
The dry-then-flood swing — it splits bulbs and ruins both their looks and their keeping quality.
- Watch out:
Hot, windy days dry the shallow root zone fast — check daily and water before the crop shows stress.
Let the crop mature and dry down
The bulb is full-grown, the leaves stop and begin to yellow, and the tops start to fall over at the neck ('top-flop'). Your job now is to let the crop finish and dry down so the bulbs firm up for storage. Stop watering about 2–3 weeks before harvest, and get ready to lift when about half to three-quarters of the tops have fallen over.
Stop irrigation to dry the tops down Recommended
Cutting off the water now is what turns a field of soft bulbs into a crop that stores for months. Drying the soil firms the bulbs, tightens the necks and sets the papery skins that protect them. Keep watering right to the end and you get soft, thick-necked bulbs that rot in storage — the whole season undone at the last step.
Stop watering about 15–25 days before you expect to harvest — as the tops begin to yellow and flop.
Let the soil dry down from now on; the drying is what firms the bulb and tightens the neck.
Watch the tops fall over and the outer skins begin to colour and go papery.
Time it with the weather — you want the ground drying, not soaking, going into harvest.
- Do:
Dry the crop off before lifting — firm bulbs with tight necks and papery skins are the ones that keep.
- Tip:
Watering right up to harvest — it leaves soft, wet-necked bulbs that rot fast in store.
- Watch out:
If heavy rain is coming near maturity, plan to lift promptly once the tops are down rather than let the wet bulbs sit and spoil.
Check tops-down maturity Recommended
The falling tops are the onion's own sign that the bulb has finished growing and is ready to lift. Reading it right matters: lift too early and the bulbs are small with soft necks that won't store; leave them too long and they can re-root, split, or start to rot in the ground.
Walk the field and look at how many tops have fallen over at the neck — bent right down, not just leaning.
When about half to three-quarters (50–75%) of the tops have flopped over, the crop is mature and ready to lift.
Feel a few bulbs — they should be full and firm, with the outer skins starting to go dry and papery.
Don't knock the tops down by hand to rush it — let them fall on their own; forced-over plants haven't finished filling.
If most tops are still standing upright → wait a few more days and check again. If most are down and the skins are papery → lift on the next dry day.
- Do:
Judge by the crop, not the calendar — the tops-down sign is more reliable than a day count.
- Tip:
Lifting while most tops are still standing — those bulbs are unfinished and won't store.
- Watch out:
Once the tops are down, don't leave the bulbs sitting in wet soil — they can rot or sprout roots again; lift on the next dry day.
Lift the bulbs
With the tops down and the ground drying, it is time to lift the bulbs. Do it on a dry day and handle them gently — onions bruise easily, and a bruised bulb rots in store. Lift, then start them curing (drying off) either briefly in the field or in the shade.
Lift the bulbs on a dry day Critical
Everything you have grown is now in the bulbs, and how you lift and handle them decides how many make it through storage. A bruised, cut or sun-scalded bulb rots and takes its neighbours with it. Careful lifting on a dry day is the difference between a crop that keeps for months and one that spoils in weeks.
Lift on a dry, sunny day, when about 50–75% of the tops are down and the soil is dry.
Loosen the soil first with a fork or hoe, then ease the bulbs out by hand — don't yank them by the tops, which bruises the neck.
Handle them gently, like eggs — don't drop them into the basket; every knock starts a rot.
Shake off loose soil and lay the bulbs out to begin curing — briefly on the surface, or straight into a dry, shaded, airy spot in hot regions to avoid sun-scald.
Leave the tops and roots on for now — you will trim them only after the bulbs have cured.
- Do:
Lift on a dry day and let the bulbs dry — moisture and bruising are what start storage rot.
- Tip:
Bruising, cutting or dropping the bulbs — damaged bulbs rot in store and spoil the ones around them.
- Watch out:
In strong sun, don't leave lifted bulbs baking in the open for long — sun-scald ruins them; move them to shade to cure.
Cure and store the bulbs
The crop is grown — now don't lose it in the shed. Curing is the drying that seals the neck and skins so bulbs keep for months. Cure them in a dry, shaded, airy place for about 2 weeks in hot dry weather, up to 4 weeks in humid weather, until the necks are tight, dry and crinkly and the skins are papery. Then trim, sort out any damaged ones, and store cool, dry and well-aired. A daylength-matched variety, even watering through bulbing, thrips control, stopping nitrogen in time, and a thorough cure are where an onion crop is saved or lost.
Cure the bulbs (2–4 weeks) Recommended
Curing is the step that lets onions keep for months instead of weeks. Drying the neck tight and the skins papery seals the bulb against neck rot, which creeps in through a soft, open neck. Rush or skip the cure and even a fine crop rots from the neck in the shed.
Spread the lifted bulbs in a single layer (or hang them in bunches) in a dry, shaded, airy place — out of rain and direct sun.
Let plenty of air move around them — a raised rack, mesh or slatted floor is far better than a solid pile.
Cure for about 2 weeks in hot, dry weather, up to 4 weeks in humid weather.
Check for readiness: the crop is cured when the necks are tight, dry and crinkly and the outer skins are papery and rustle.
If the necks are still soft, thick or green → keep curing longer and improve the airflow before you store. Storing before the necks are dry invites neck rot.
- Do:
Cure until the necks are tight and crinkly and the skins are papery — that dryness is what keeps neck rot out.
- Tip:
Piling bulbs thick, or curing in a damp, still, shaded corner — poor airflow leaves soft necks that rot.
- Watch out:
Keep curing bulbs out of rain and dew — re-wetting undoes the cure and restarts the rot.
Top, grade & store Recommended
After curing, how you trim, sort and store decides how long the crop lasts and what it fetches. One hidden soft, thick-necked or bruised bulb rots and spreads to the whole store, so the sorting step protects everything else. Good bulbs kept cool, dry and airy hold for months and sell when the price is high.
Once cured, trim the dry tops about 2–3 cm above the bulb (leave a small dry neck — don't cut into the bulb) and trim the roots off close.
Grade the bulbs: set aside any that are soft, thick-necked, bruised, cut, sprouting or split — eat or sell those first; they will not keep.
Keep only firm, well-skinned, tight-necked bulbs for storage.
Store them cool, dry and well-aired — in nets, slatted crates or thin layers, off the floor, where air can move; never sealed in a wet sack.
Check the store regularly and pull out any bulb that softens, smells or starts to rot before it spreads.
- Do:
Store only firm, tight-necked bulbs, cool, dry and airy — and check often, removing any that start to go.
- Tip:
Storing soft, thick-necked or bruised bulbs with the good ones — one rotting bulb spoils the whole net.
- Watch out:
A damp, warm, still store sprouts and rots onions fast — keep it cool, dry and airy, and never seal bulbs in plastic or a wet sack.
Pests and diseases that attack onion
-
 Alternaria leaf blight
 -
 Bacterial soft rot
 -
 Botrytis neck rot
 -
 Damping-off
 -
 Downy mildew
 -
 Fusarium basal rot
 -
 Leaf miners
 -
 Purple blotch
 -
 Stem and bulb nematode
 -
 Thrips
 -
 White rot
Where to sell onion
Markets that trade this crop — what each one sells it by, when supply peaks there, and the currency used.
-
 Joburg Market
-
 Mbare Musika
-
 Mile 12 Market
-
 Wakulima Market
-
 Atkilt Tera
-
 Grand Marché de Bamako
-
 Kariakoo Market
-
 Kimironko Market
Grow onion with a plan, not a guess
This guide is the general answer. Divisi works out yours — the week to plant onion on your soil and your rainfall, and each job dated for your field.


When to plant onion, country by country
- When to plant onion in Algeria
- When to plant onion in Angola
- When to plant onion in Benin
- When to plant onion in Botswana
- When to plant onion in Burkina Faso
- When to plant onion in Burundi
- When to plant onion in Cabo Verde
- When to plant onion in Cameroon
- When to plant onion in Comores
- When to plant onion in Congo
- When to plant onion in Côte d'Ivoire
- When to plant onion in Egypt
- When to plant onion in Eritrea
- When to plant onion in Eswatini
- When to plant onion in Ethiopia
- When to plant onion in Gabon
- When to plant onion in Gambia
- When to plant onion in Ghana
- When to plant onion in Guinea Ecuatorial
- When to plant onion in Guinea-Bissau
- When to plant onion in Guinée
- When to plant onion in Kenya
- When to plant onion in Lesotho
- When to plant onion in Liberia
- When to plant onion in Libya
- When to plant onion in Madagascar
- When to plant onion in Malawi
- When to plant onion in Mali
- When to plant onion in Mauritanie
- When to plant onion in Mauritius
- When to plant onion in Morocco
- When to plant onion in Moçambique
- When to plant onion in Namibia
- When to plant onion in Niger
- When to plant onion in Nigeria
- When to plant onion in Rwanda
- When to plant onion in République centrafricaine
- When to plant onion in République démocratique du Congo
- When to plant onion in Sao Tome and Principe
- When to plant onion in Seychelles
- When to plant onion in Sierra Leone
- When to plant onion in Somalia
- When to plant onion in South Africa
- When to plant onion in South Sudan
- When to plant onion in Sudan
- When to plant onion in Sénégal
- When to plant onion in Tchad
- When to plant onion in Togo
- When to plant onion in Tunisie
- When to plant onion in Uganda
- When to plant onion in United Republic of Tanzania
- When to plant onion in Zambia
- When to plant onion in Zimbabwe
Where onion scores best
Districts where Divisi's engine currently rates this crop highest, ranked by fit.


Get Insights by email
A short digest of new Divisi articles. No email on quiet weeks.
Frequently asked questions
How do I grow onion?
How to grow onion: 90–120 days to maturity, 20 cm rows, 1–1.5 cm deep. Also called ui, shinkurt, anyezi, oignon, albasa, cebola, anyanese, anyanse.
What is ui in English?
Ui is the Afrikaans name for onion.
What is shinkurt in English?
Shinkurt is the Amharic name for onion.
What is anyezi in English?
Anyezi is the Chichewa name for onion.
What is oignon in English?
Oignon is the French name for onion.
What is albasa in English?
Albasa is the Hausa name for onion.
What is cebola in English?
Cebola is the Portuguese name for onion.
What is anyanese in English?
Anyanese is the Sesotho name for onion.
What is anyanse in English?
Anyanse is the Setswana name for onion.
What is hanyanisi in English?
Hanyanisi is the Shona name for onion.
What is kitunguu in English?
Kitunguu is the Swahili name for onion.
What is itswele in English?
Itswele is the Xhosa name for onion.
What is u-anyanisi in English?
U-anyanisi is the Zulu name for onion.
How long does onion take to grow?
Onion takes about 90–120 days from sowing to maturity, though the exact length varies with variety, temperature and how the season runs.
What spacing should I use for onion?
Space onion rows about 20 cm apart, with roughly 7 cm between plants within the row.
How deep should onion be planted?
Sow onion at about 1–1.5 cm deep. Shallower risks drying out; deeper wastes seed energy before the shoot reaches light.
What pests and diseases attack onion?
The ones covered in this guide are Alternaria leaf blight, Bacterial soft rot, Botrytis neck rot. Each has its own page explaining how to identify, check for and control it.